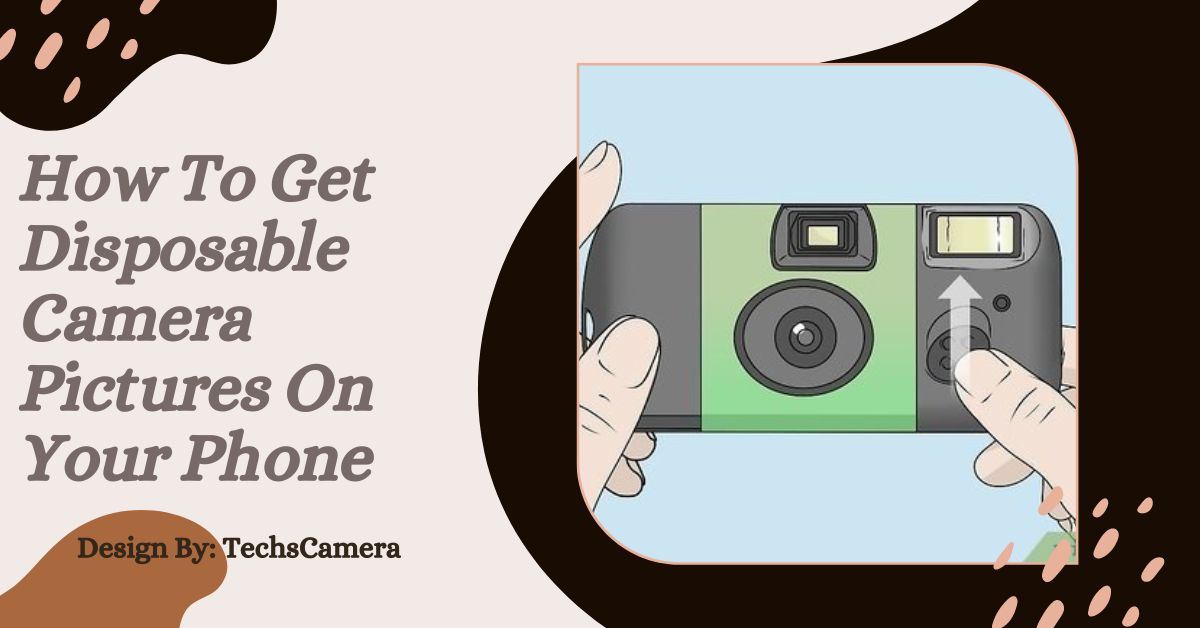
To get disposable camera pictures on your phone, develop the film using a lab or DIY kit, scan the prints using a scanner or app, and transfer the digital files to your phone.
Understanding Disposable Cameras:
Disposable cameras, despite their simplicity, capture unique and memorable moments. These cameras use film, which needs to be developed to view the images. Unlike digital cameras, disposable cameras require a process to convert the physical film into digital files that can be easily accessed on your phone.
Understanding this process—from film development to scanning and transferring—ensures you can enjoy and share your nostalgic snapshots with modern convenience.
Developing Disposable Camera Film
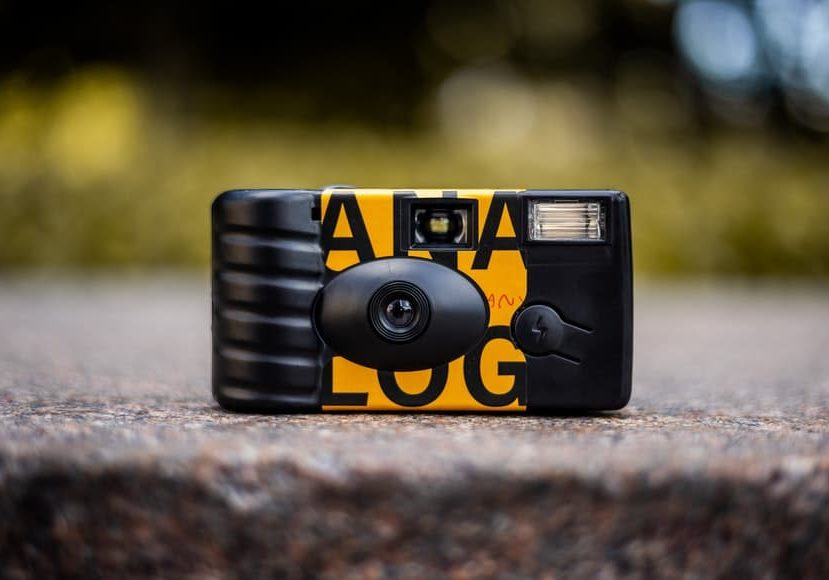
To get your disposable camera pictures onto your phone, the first step is developing the film. This can be done at local photo labs, where professionals handle the entire development process, including digitizing the photos if requested. If you prefer, online photo labs offer a convenient option by allowing you to send your camera or film rolls by mail.
These services return digital files or prints. For those who enjoy hands-on projects, DIY development kits enable you to process the film at home, though this method requires careful handling of chemicals and precise techniques.
Local Photo Labs
Local photo labs provide a straightforward solution for developing disposable camera film. You simply drop off your camera or film rolls, and they handle the processing. Many local labs also offer scanning services to provide digital copies of your photos. This method is reliable and allows you to support local businesses while ensuring your pictures are developed professionally and efficiently.
Online Photo Labs
Online photo labs offer a convenient way to develop your disposable camera film without leaving home. You mail your camera or film rolls to the lab, and they handle the entire development process, including scanning and sending digital copies of your images. This service is ideal if you prefer not to visit a physical location and want the ease of having your photos processed and returned by mail.
DIY Development
DIY development of disposable camera film can be an enjoyable and cost-effective option for photography enthusiasts. Using a DIY development kit, you can process the film yourself at home. This process involves handling chemicals and using a darkroom or a dark bag to ensure proper development.
While this method requires some learning and preparation, it allows for complete control over the development process and can be a rewarding experience for those interested in traditional photography techniques.
Step 2: Scanning Disposable Camera Pictures
Once your film is developed, the next step is to scan the prints to get digital copies. Local scanning companies can handle this task by digitizing your developed photos. Alternatively, online photo scanning services allow you to mail in your prints for scanning.
For a DIY approach, you can use a flatbed scanner to create digital files of your photos. Another option is to use a phone app designed for scanning, which provides a quick and easy way to digitize your pictures.
Local Scanning Companies
Local scanning companies offer professional services to digitize your developed photos. You can bring your prints to these businesses, where they will use high-quality equipment to create digital copies. This service ensures that your images are scanned with precision and clarity, making it a reliable option if you prefer a hands-off approach to digitizing your photos.
Online Photo Scanning Companies
Online photo scanning companies provide a convenient solution for digitizing your photos by mail. After sending in your developed prints, the company scans and returns the digital files to you. This option is ideal if you prefer to avoid visiting a physical location and want the convenience of mail-in services.
It ensures that your photos are digitized professionally, with the added benefit of not having to handle the scanning equipment yourself.
DIY Flatbed Scanner
A flatbed scanner is a practical tool for digitizing your disposable camera prints at home. Place your developed photos on the scanner bed and use the scanner’s software to create digital images. This method allows you to control the scanning process and adjust settings to improve the quality of your scans. While it requires some setup and familiarity with the scanner, it provides a cost-effective way to digitize your photos.
Also read: Do Ring cameras work Without Wifi – A Comprehensive Guide!
DIY Phone App
Using a phone app designed for scanning photos offers a quick and accessible way to digitize your images. These apps use your phone’s camera to capture and convert photos into digital format. Many apps include features to enhance image quality and adjust settings for better results.
This method is convenient for those who prefer to use their smartphone for scanning without needing additional equipment.
Step 3: Transferring Pictures to Your Phone
After digitizing your photos, the next step is transferring them to your phone. If you have the digital files on your computer, connect your phone using a USB cable and transfer the files directly into your phone’s gallery. If your digital copies are on a memory card or USB drive, you can use an OTG (On-The-Go) adapter to connect these devices to your phone and transfer the files.
Cloud storage services like Google Drive or Dropbox also provide a convenient way to upload the files from your computer and download them onto your phone.
Transfer Files to Computer
Transferring files to your computer is often the first step before moving them to your phone. Connect your memory card or USB drive to your computer and copy the digital images from your scanning service or DIY scanner. Once the files are on your computer, you can easily organize them before transferring them to your phone.
USB Cable
Using a USB cable to connect your phone to your computer is a straightforward method for transferring files. After connecting the devices, simply drag and drop the digital files from your computer into your phone’s photo gallery. This method ensures that your pictures are transferred quickly and securely.
Memory Card
If your digital images are stored on a memory card, you can use an OTG adapter to connect the card directly to your phone. This allows you to transfer the pictures without needing a computer. Insert the memory card into the adapter, connect it to your phone, and then copy the files into your phone’s storage.
Cloud Storage
Cloud storage services offer a convenient way to transfer photos from your computer to your phone. Upload the digital files to a cloud storage service like Google Drive or Dropbox from your computer. Then, access the cloud storage app on your phone to download the files. This method provides flexibility and ensures that your photos are accessible from any device with internet access.
Editing and Enhancing the Pictures:
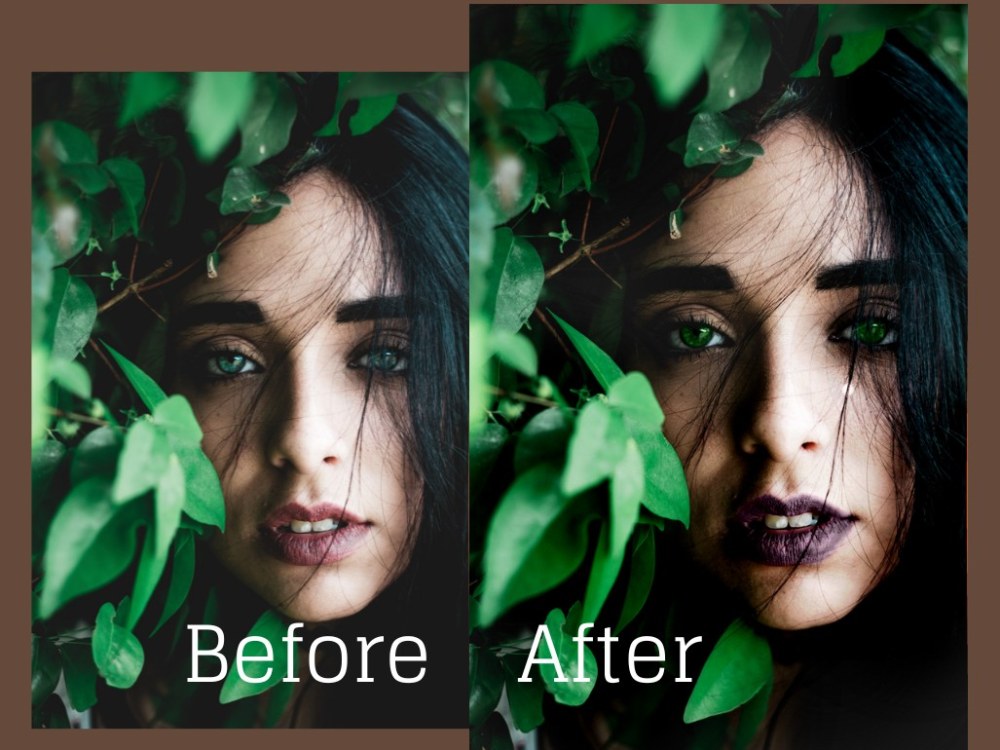
After transferring your photos to your phone, you might want to edit and enhance them. Various photo editing apps allow you to adjust brightness, contrast, and color balance, as well as crop and straighten your images. These tools can help improve the appearance of your photos, making them look their best before sharing or printing.
Sharing and Preserving the Pictures:
Finally, sharing and preserving your photos is important for enjoying them long-term. You can share your edited images with friends and family via social media or messaging apps. For preservation, consider backing up your digital photos to cloud storage or an external hard drive to ensure they are safely stored and easily accessible whenever you want to view them.
FAQ’s:
1. Can I develop disposable camera film at home?
Yes, using a DIY development kit, you can develop disposable camera film at home, though it requires handling chemicals and precise techniques.
2. How do I scan my developed disposable camera prints?
You can scan your prints using local scanning services, online photo scanning companies, a flatbed scanner, or a photo scanning app on your phone.
3. What is the easiest way to transfer photos to my phone?
The easiest ways are using a USB cable to connect your phone to a computer or uploading the photos to cloud storage and downloading them onto your phone.
4. Can I use my phone to scan disposable camera pictures?
Yes, phone apps designed for scanning can quickly digitize your disposable camera pictures by capturing and converting them into digital format.
5. How can I edit and enhance the scanned photos on my phone?
Use photo editing apps to adjust brightness, contrast, color balance, and crop or straighten your images to enhance their appearance before sharing or printing.
Conclusion:
Getting disposable camera pictures onto your phone involves a few key steps: developing the film, scanning the prints, and transferring the digital files. Whether you choose professional services or DIY methods, each step is crucial for preserving and enjoying your nostalgic snapshots in a modern digital format. With the right tools and techniques, you can easily digitize, enhance, and share your cherished memories.
Also read: What Would Trigger A Red Camera Flash During A Turn – Key Factors Explained!
